
DIY: Easy Wooden Frame
6:00:00 PM
I'm sure you think I'm kidding, but sadly it's true. I've actually picked up enough supplies to complete 2 months worth of DIY blogposts. You should know though, you will definitely benefit from them! I've got some great projects coming up and I've even turned a couple of them into giveaways :)
Anyways, I was scrolling through Pinterest a while ago and I came across the Coffee Stirrer DIY Project from Make & Do Crew. I thought it was really cute and I wanted to do something similar. However, the frames they used were way too small. So, I decided to make my own frame!
If you're interested in following this tutorial, you will need the following materials:
- 1 thin plank of wood for the back of the frame
- 3-4 pieces of wood for the edges
- 1 pen or pencil
- Measuring tape or yardstick
- Glue
- Clamps (optional)
- Saw (optional)
- Picture Hanger (optional)
- Paint or Stain (optional)
Here are the exact measurements that I used:
- 1 3/32" x 8" x 24" Basswood Sheet
- 3 3/32" x 1" x 24" Basswood Sheet

2. Once you have decided which edge pieces will go on the top and bottom, you will want to begin gluing them down. I recommend pushing down on the wood for 15-20 seconds or until it feels comfortable. If you begin seeing gaps, I recommend applying more pressure with your hands, clamps, or anything nearby.

3. Now that the top and bottom edges are secure, you will need to work on the remaining edges. For this, I had my husband measure each gap and then he marked those measurements on the last piece of wood. We added a little bit of room for error and then he sawed the wood into three pieces. We took the two pieces we needed and sanded them down until they were the perfect length.
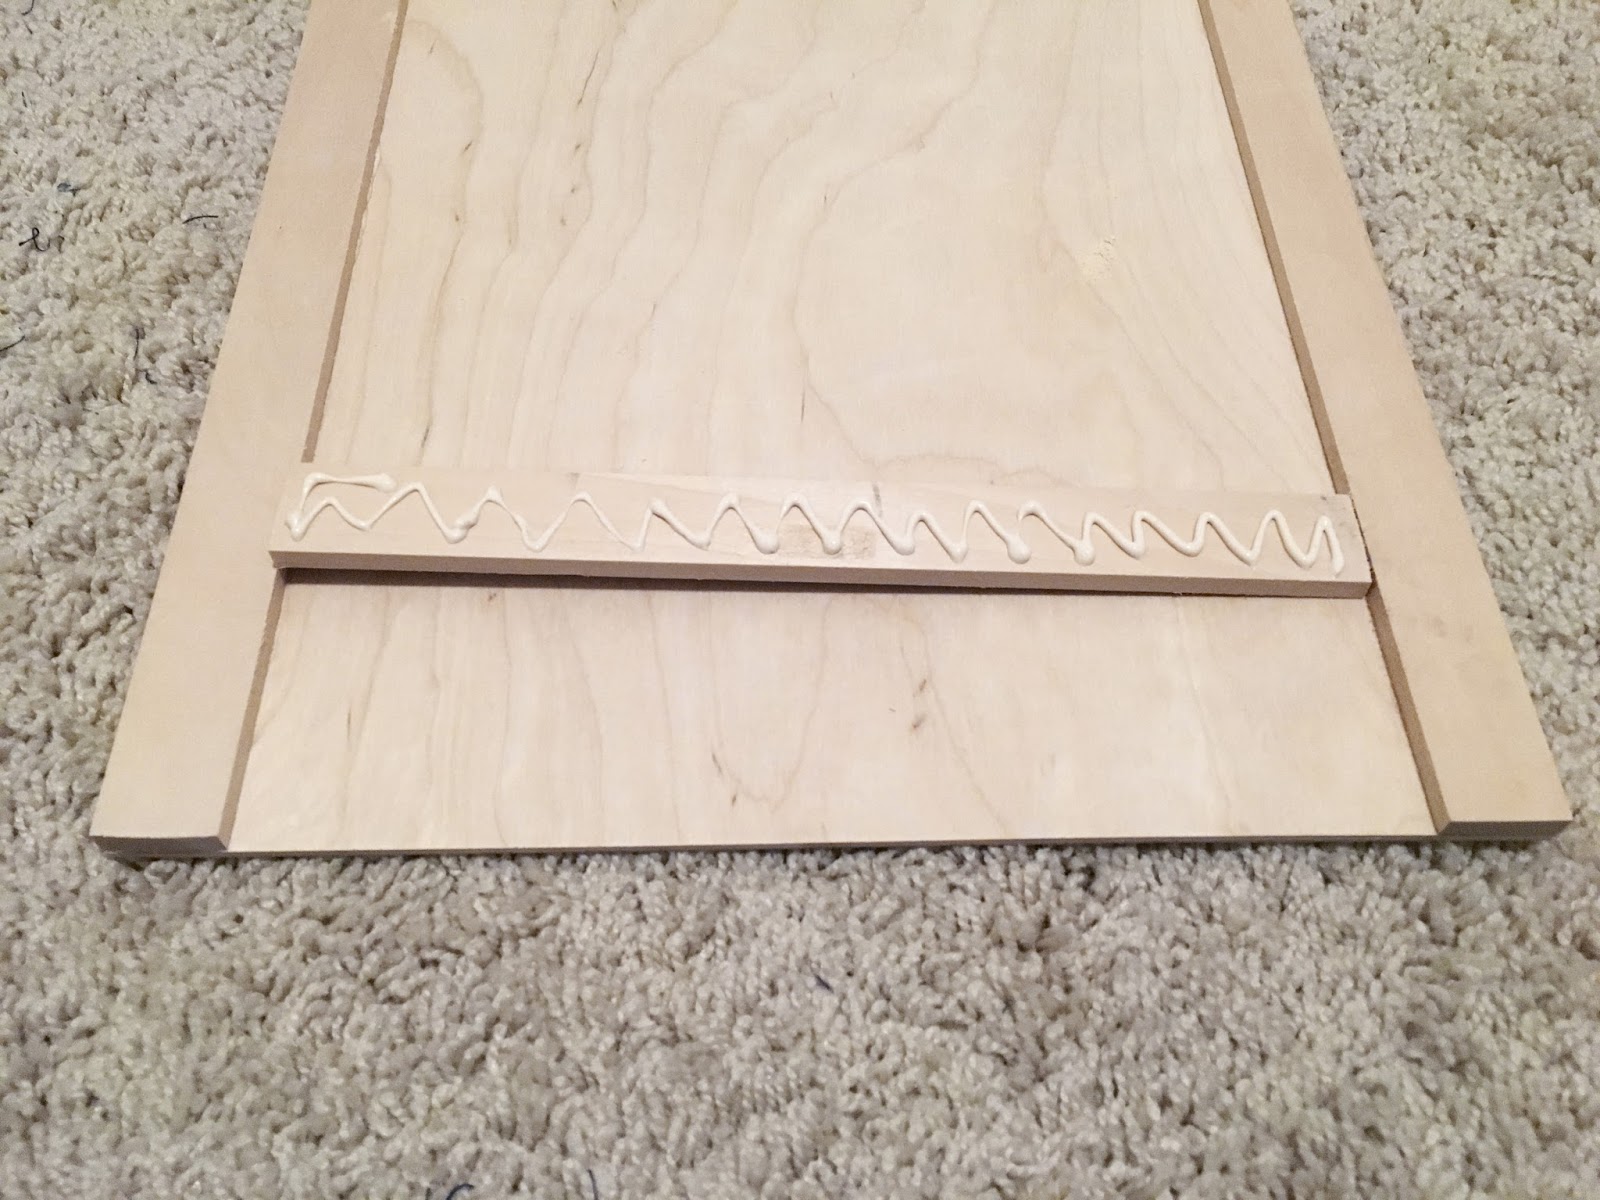
4. After double checking that all of the edges fit nicely, you will apply the glue and secure the last two pieces in their places. You will want to make sure to apply pressure so that there are no cracks or openings in the frame.
5. Once you have completed your frame, I recommend referencing the glues instructions for drying times. After the frame has completely dried, you will be able to paint or stain it however you like! You can also add on a picture hanger or other decorations as well.

That's all! This five step wooden frame is the easiest frame that I have ever built! It was super simple and it can be the base for so many other DIY projects!
I hope you liked this tutorial! I plan on posting a lot more of them. I'm always interested in hearing what tutorials you'd like to see! Just let me know in the comments!
If you decide to create one of your own, I'd love to see how it comes out! Feel free to tag me in your pictures! :)
Join the Perfectly Ambitious Newsletter!
Sign up for our latest content, products, and coupon codes!


0 comments